
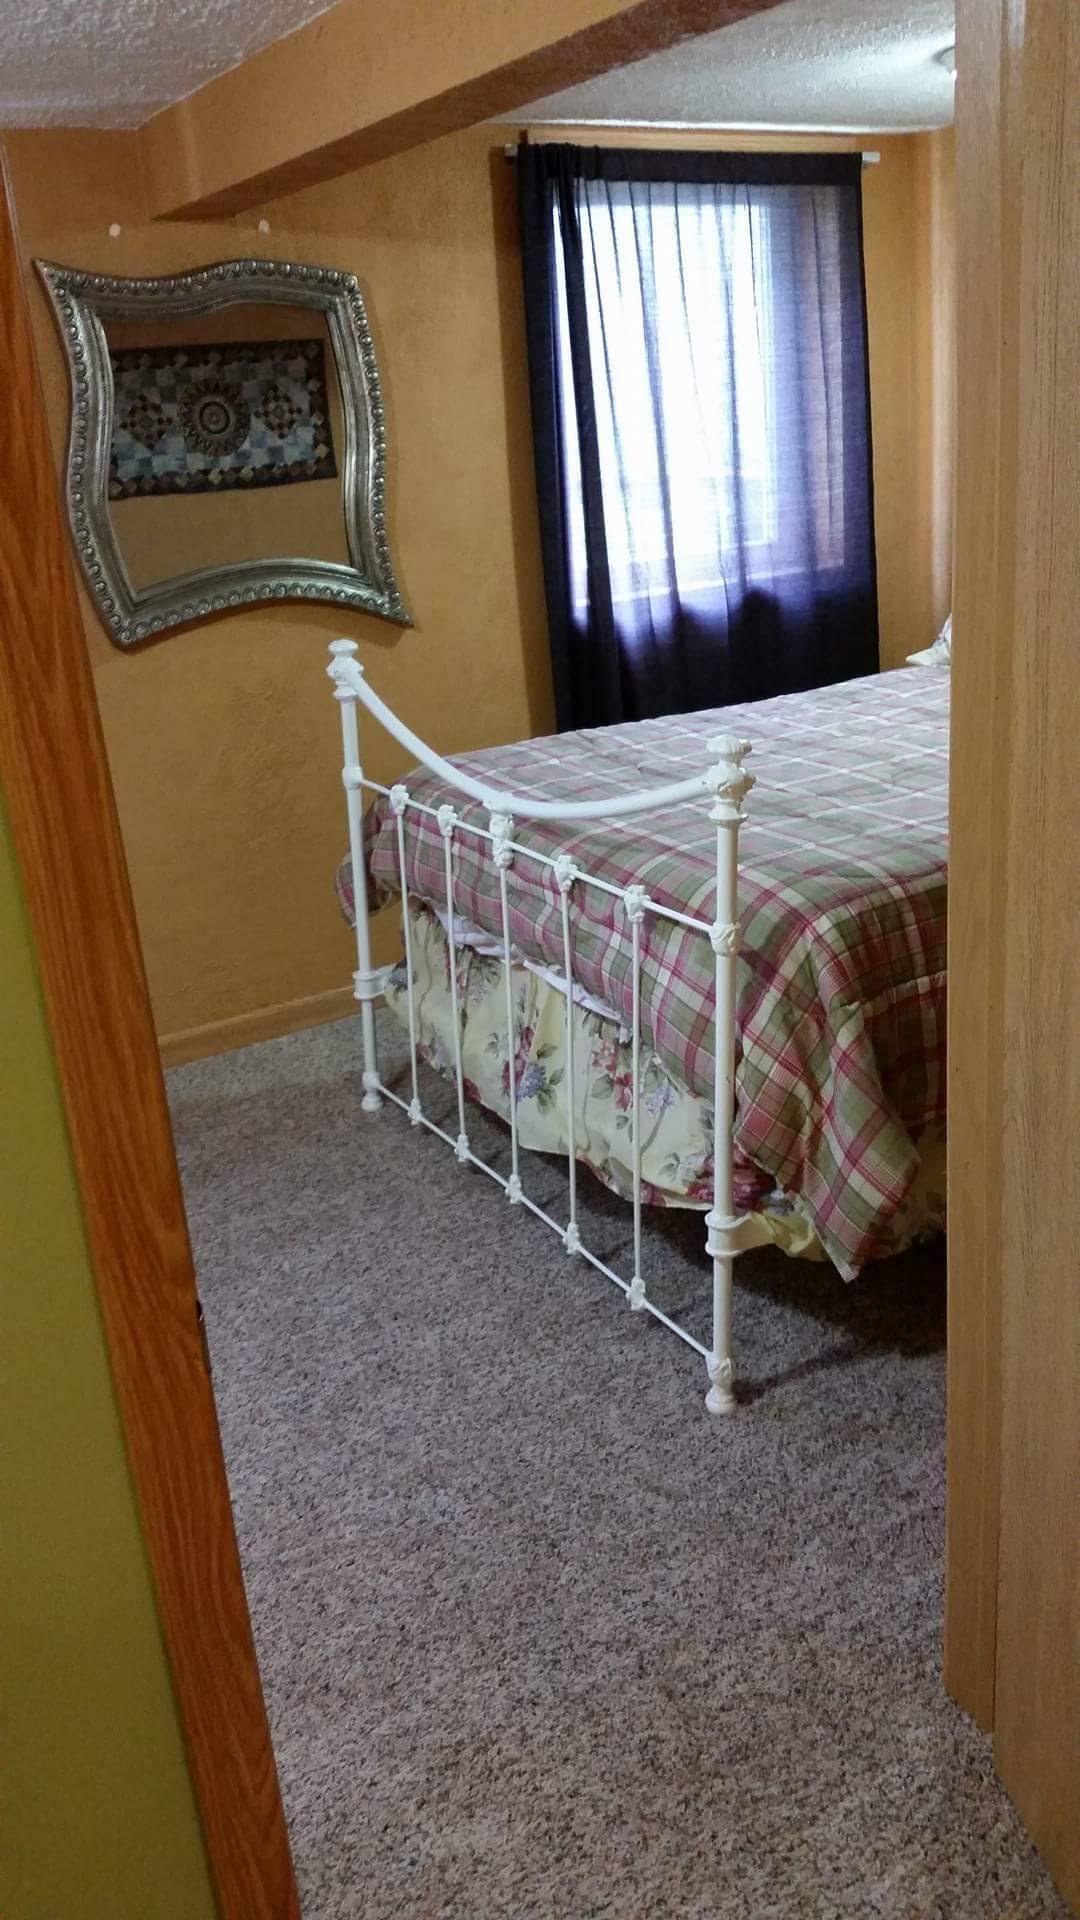
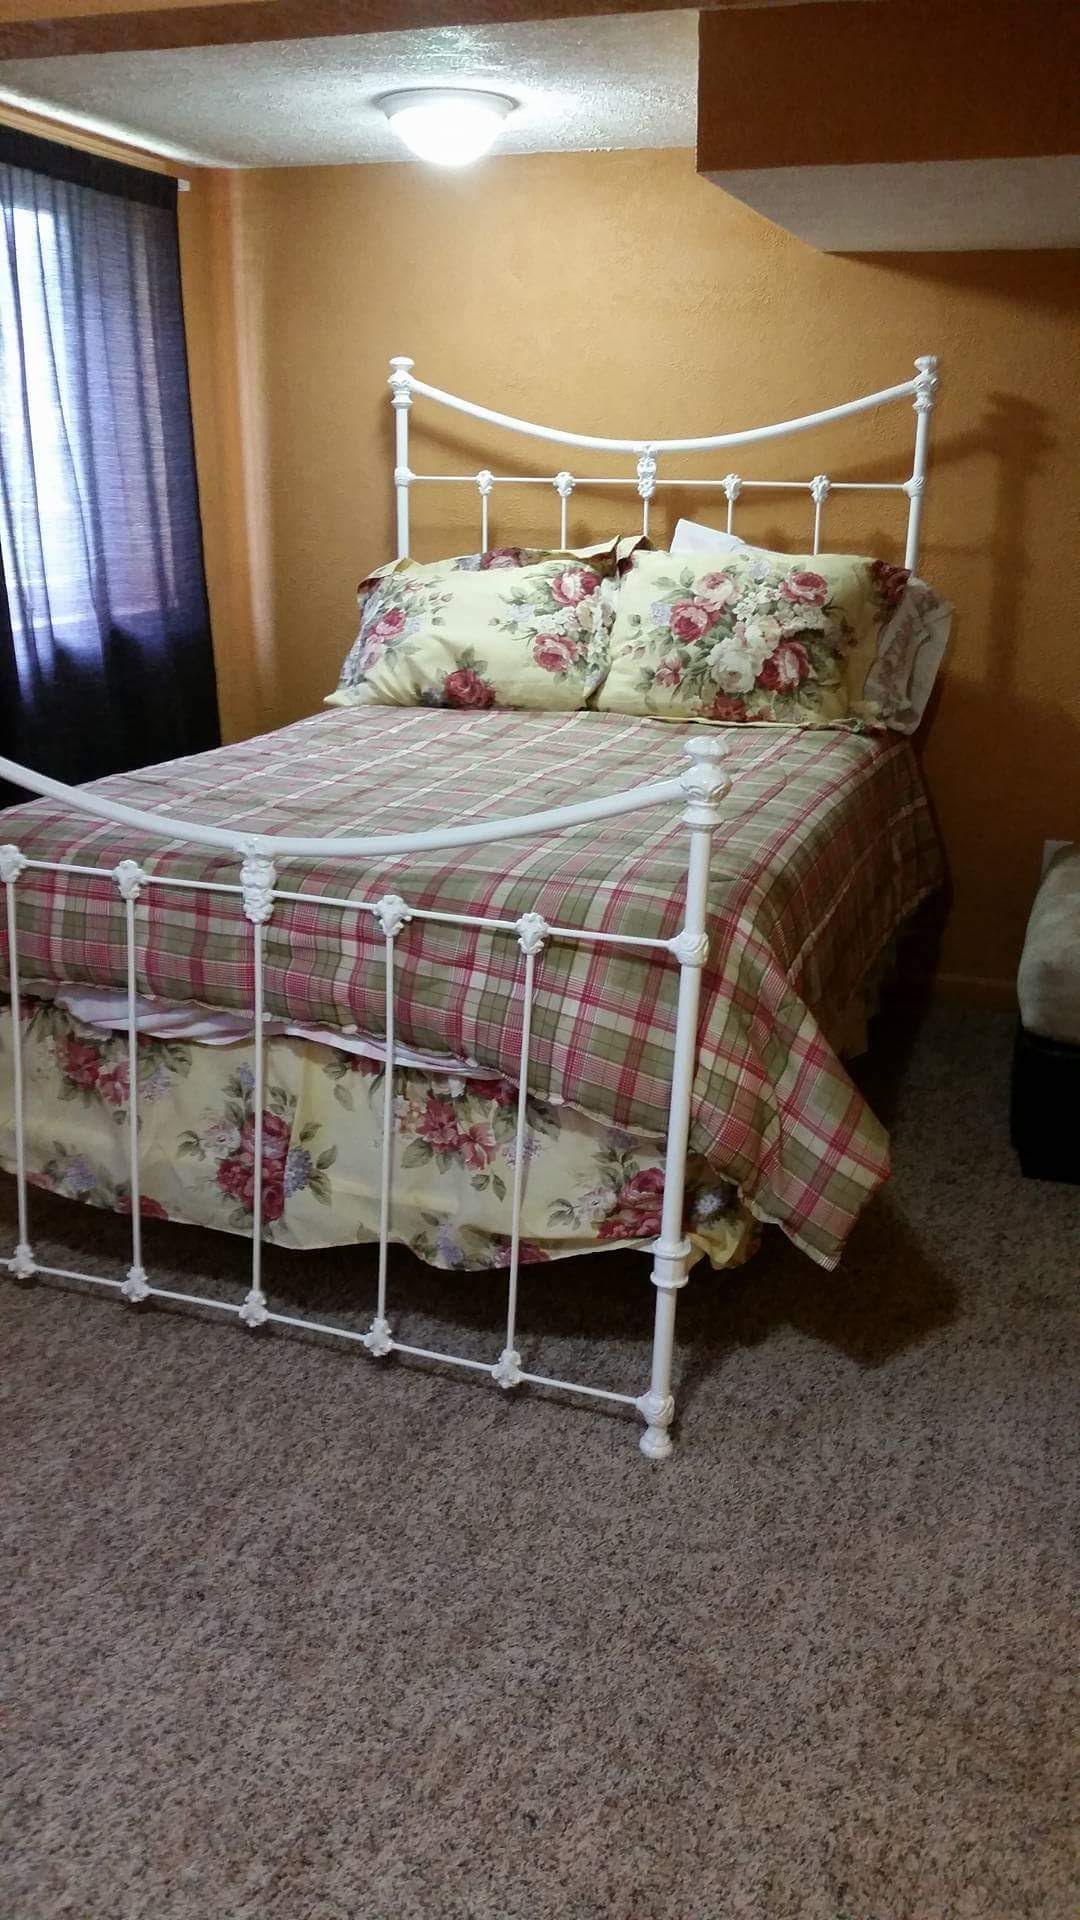
Well, as you saw in one of our recent blogs Our Guest Room Flooded we had some serious basement issues. However, we fixed the problem, and have not had anymore water in the basement HOORAY!! So, without further ado, here is our fix up of the basement. Here are some before photos of the room put together. Don’t mind the mismatched bedding to the room… YIKES! Lol don’t worry, it doesn’t clash nearly as bad now, the bedding was bought for the bed in Oklahoma long before it came to our home. haha
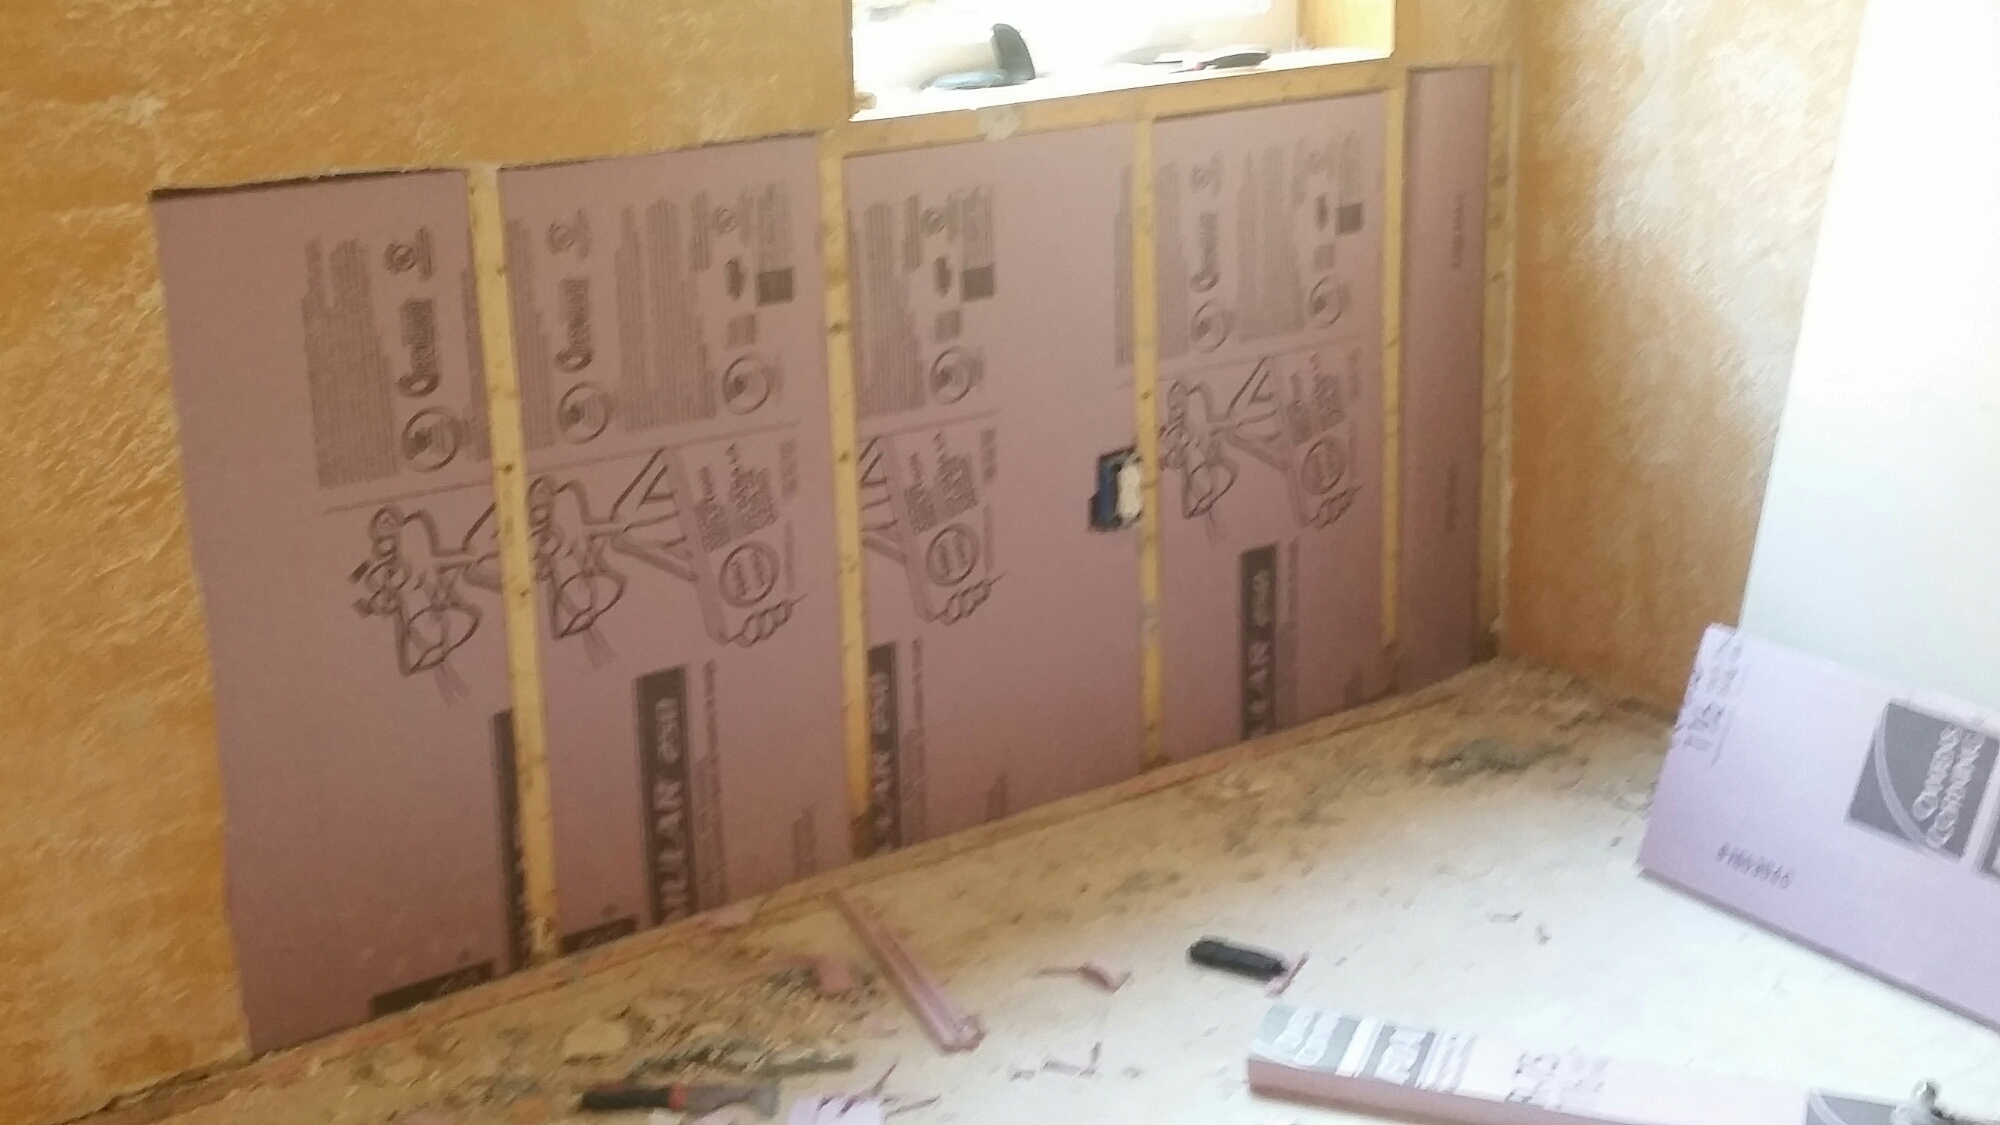
Our first step was fixing the cutout drywall and insulation. We had originally planned to go to Green Bay to pick up the sheet of drywall and insulation that we needed. We borrowed our next door neighbors trailer (Thank you Mitch and Barb, you two have been so wonderful to us!) and set out. Last minute we decided why not try the local lumber shop and see if they might have what we need. Sure enough they did, it cost a little more, but we saved gas and time by not having to go to Green Bay, and to me, that was a win! So we brought that home, and over the course of a couple of Ryans off duty periods he got it all put back together.
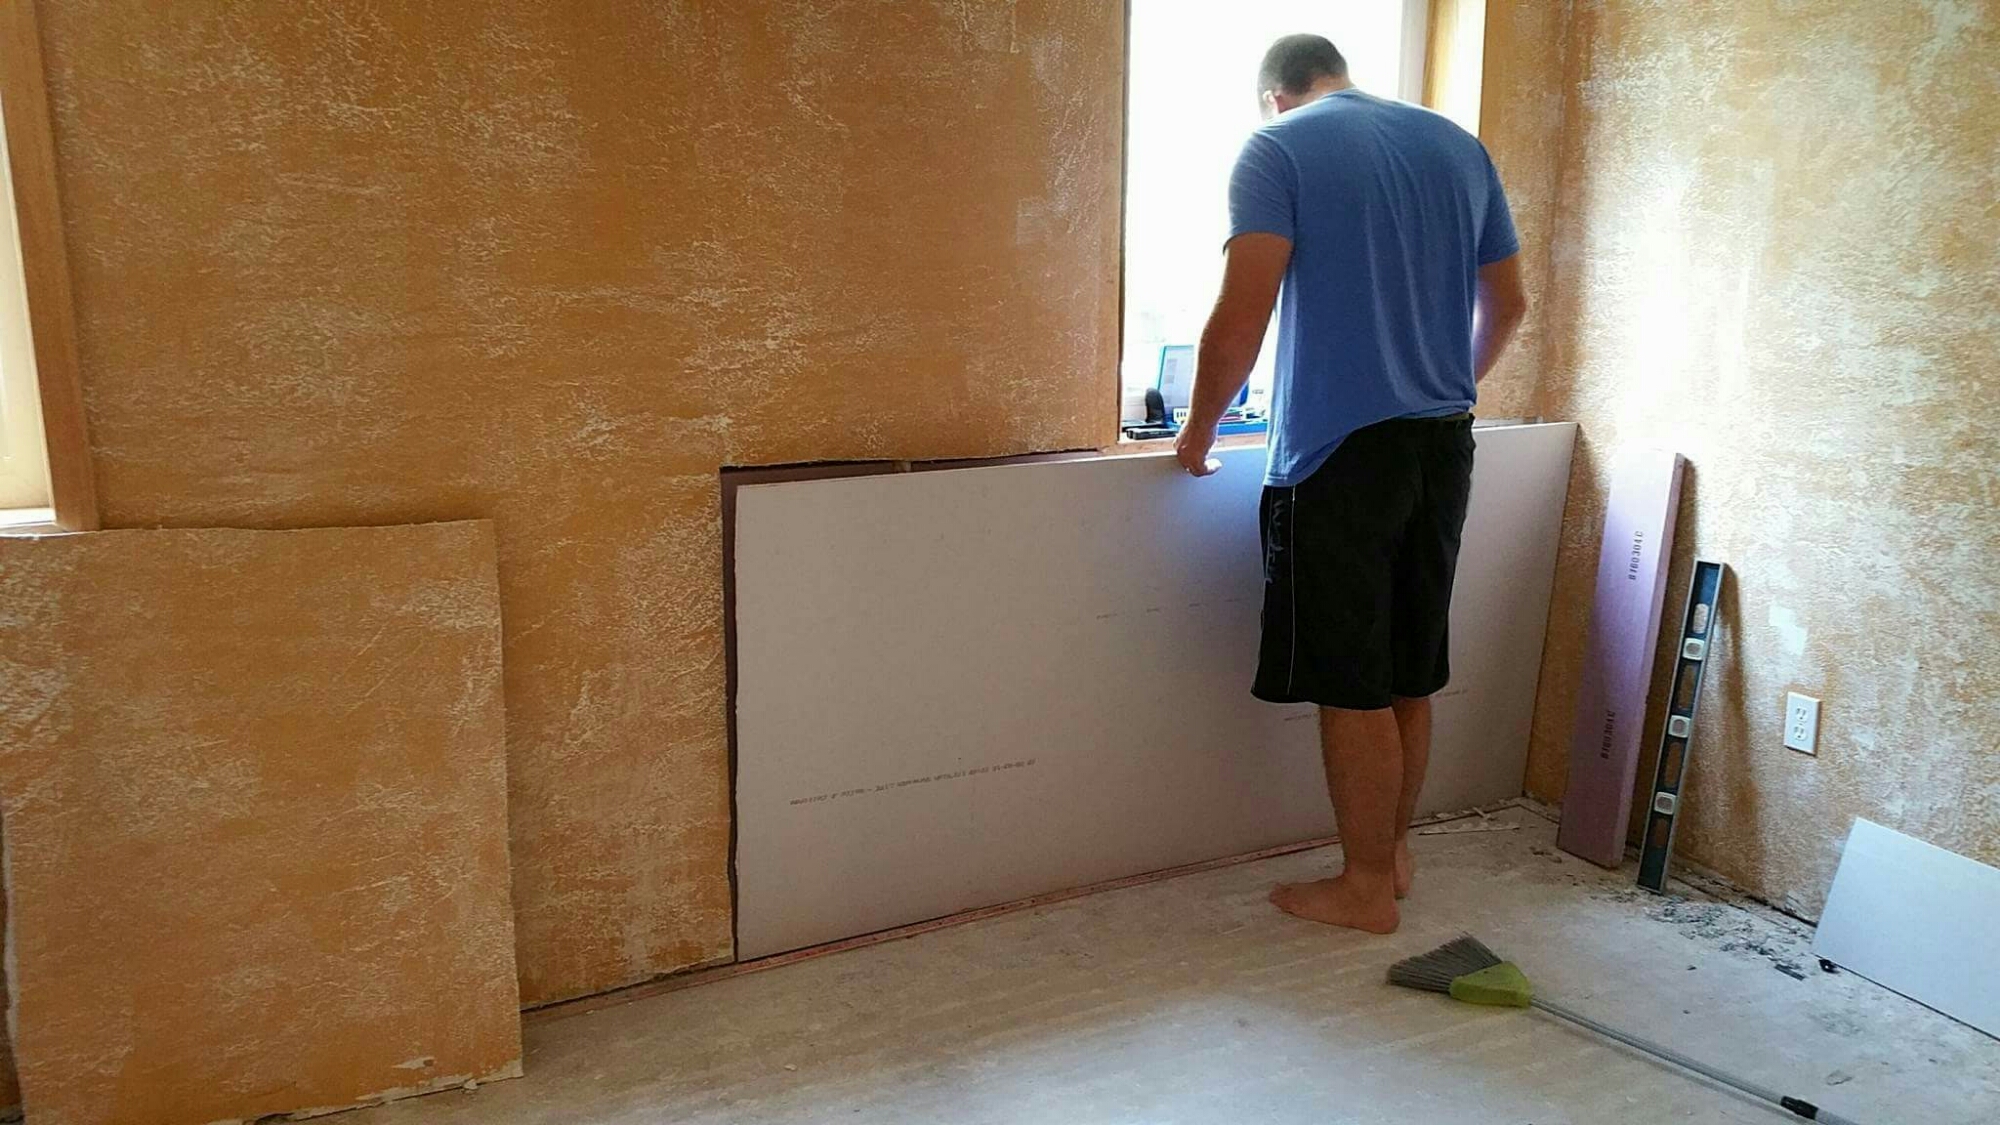

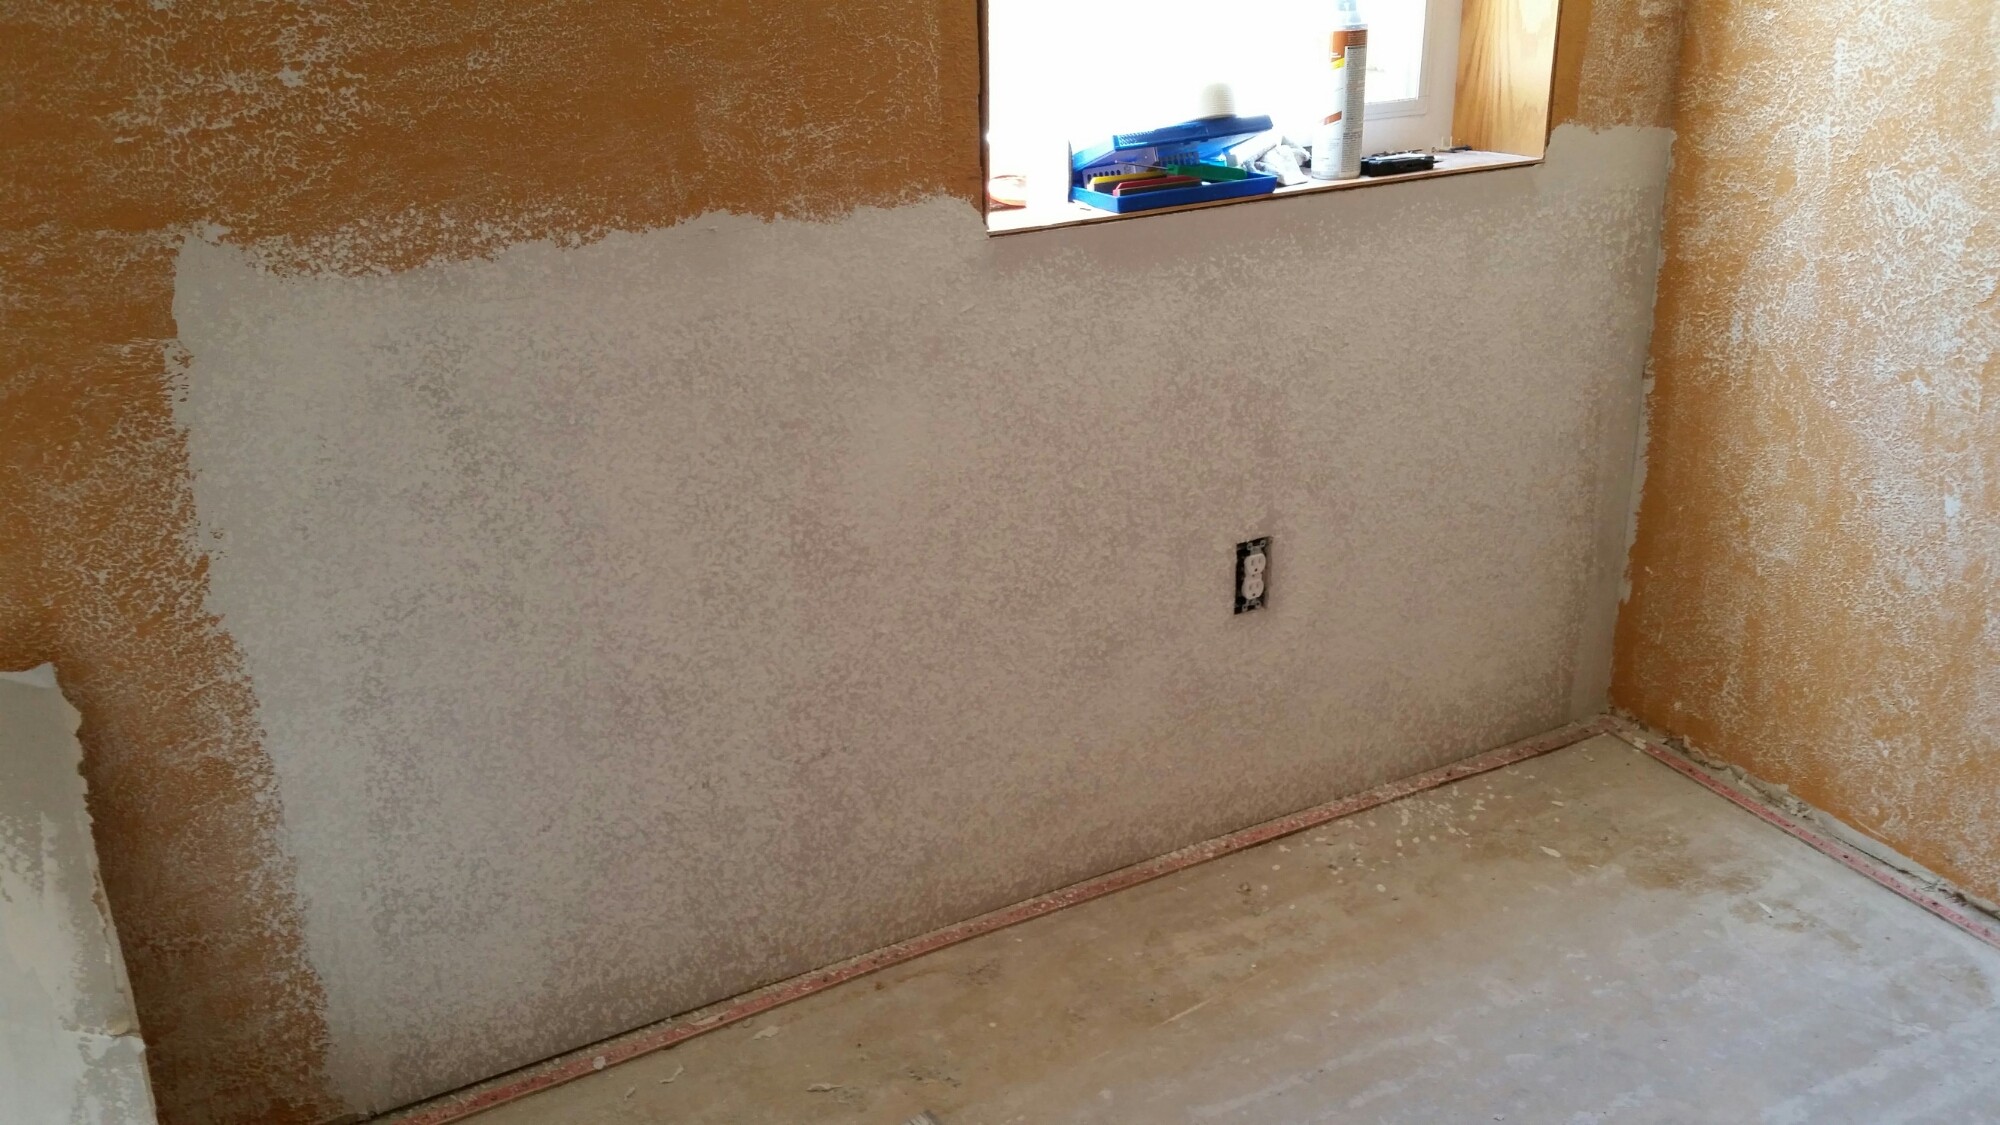
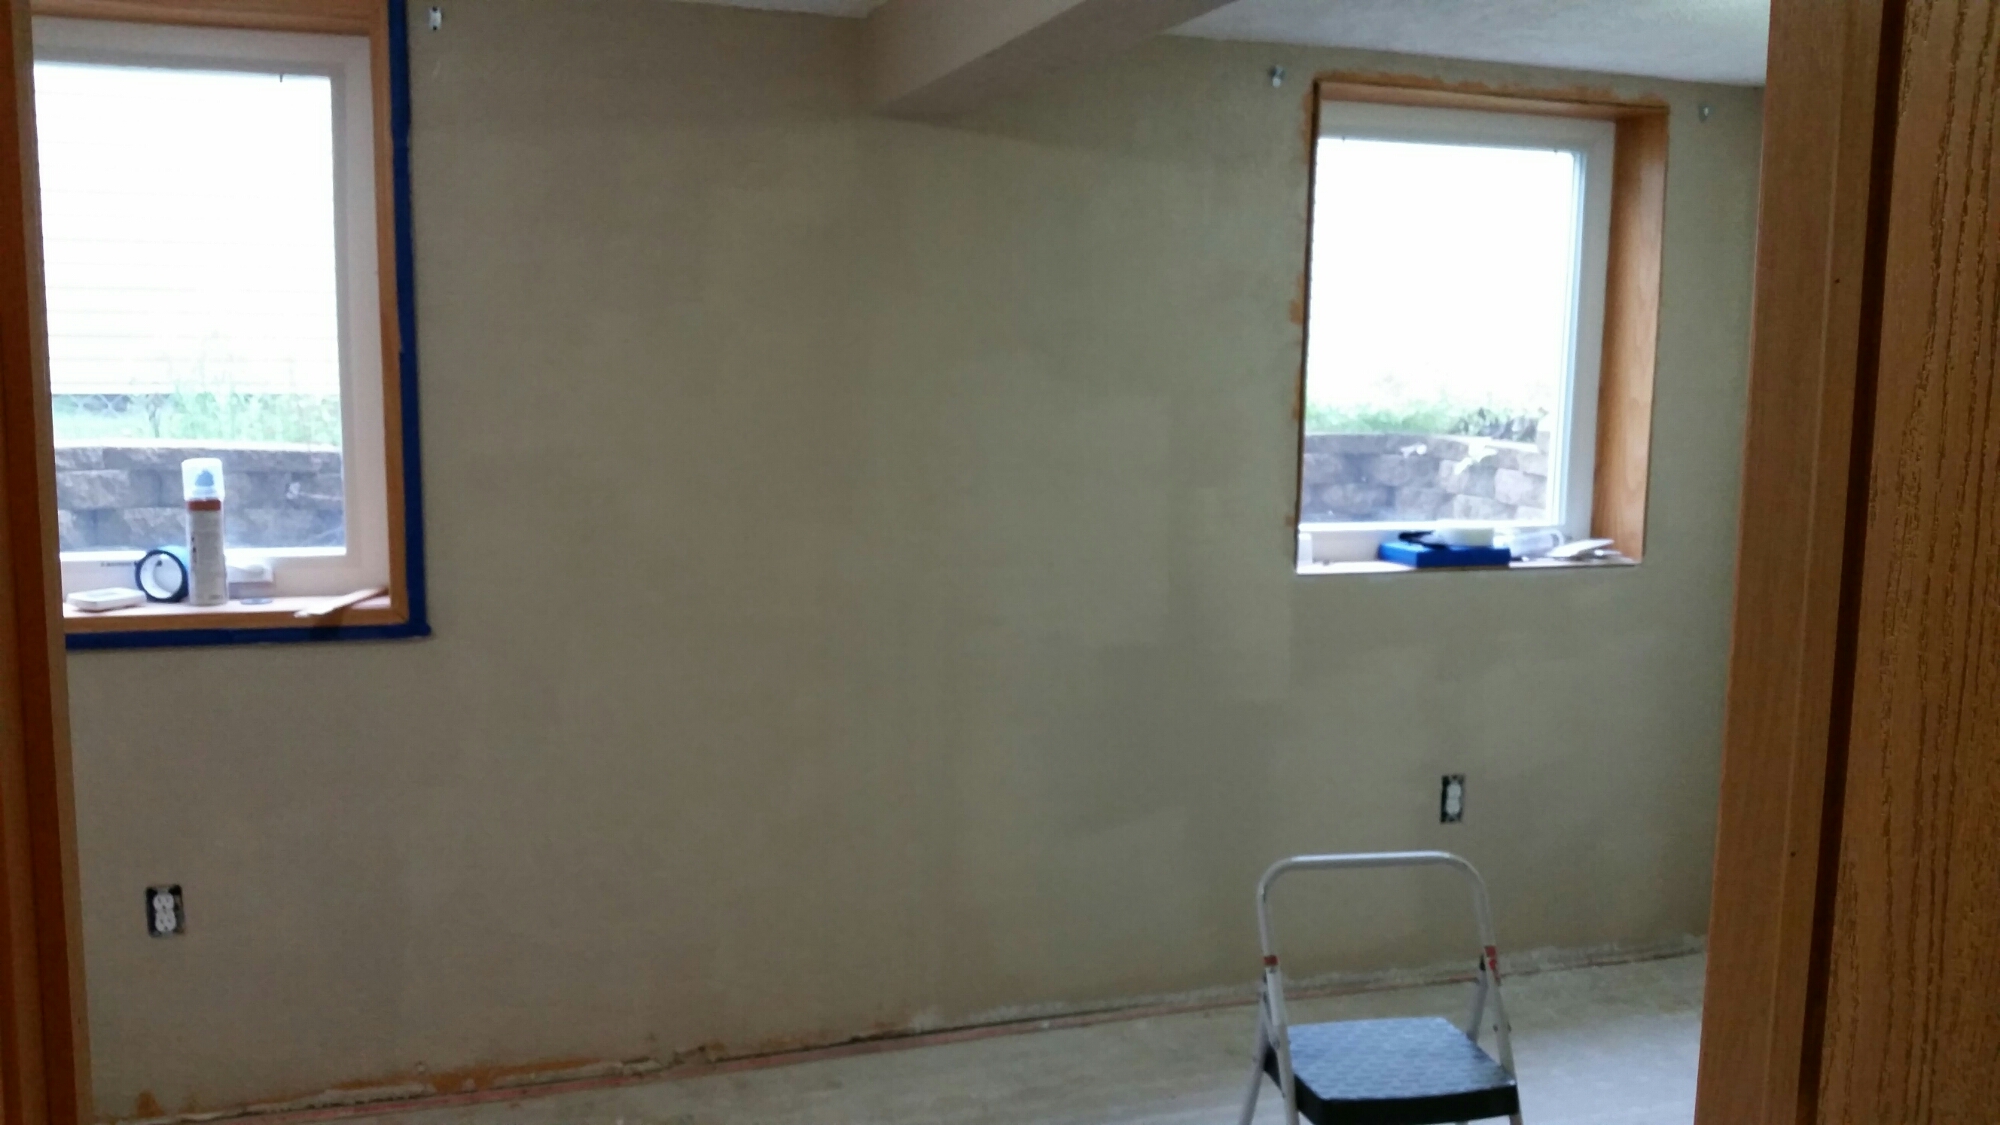
The next step came with putting up the drywall, plastering and texturing the dry wall. Once all of that was done it was time to paint. I decided to undertake the painting at night after the girls went down to bed, and during naptime while Ryan was on duty. When Ryan got home he slapped on the second coat and BAM, the walls were done just like that. We had ordered some carpet padding from Home Depot, and it had free shipping to home. HOORAY! that arrived, and the next part of the project began.

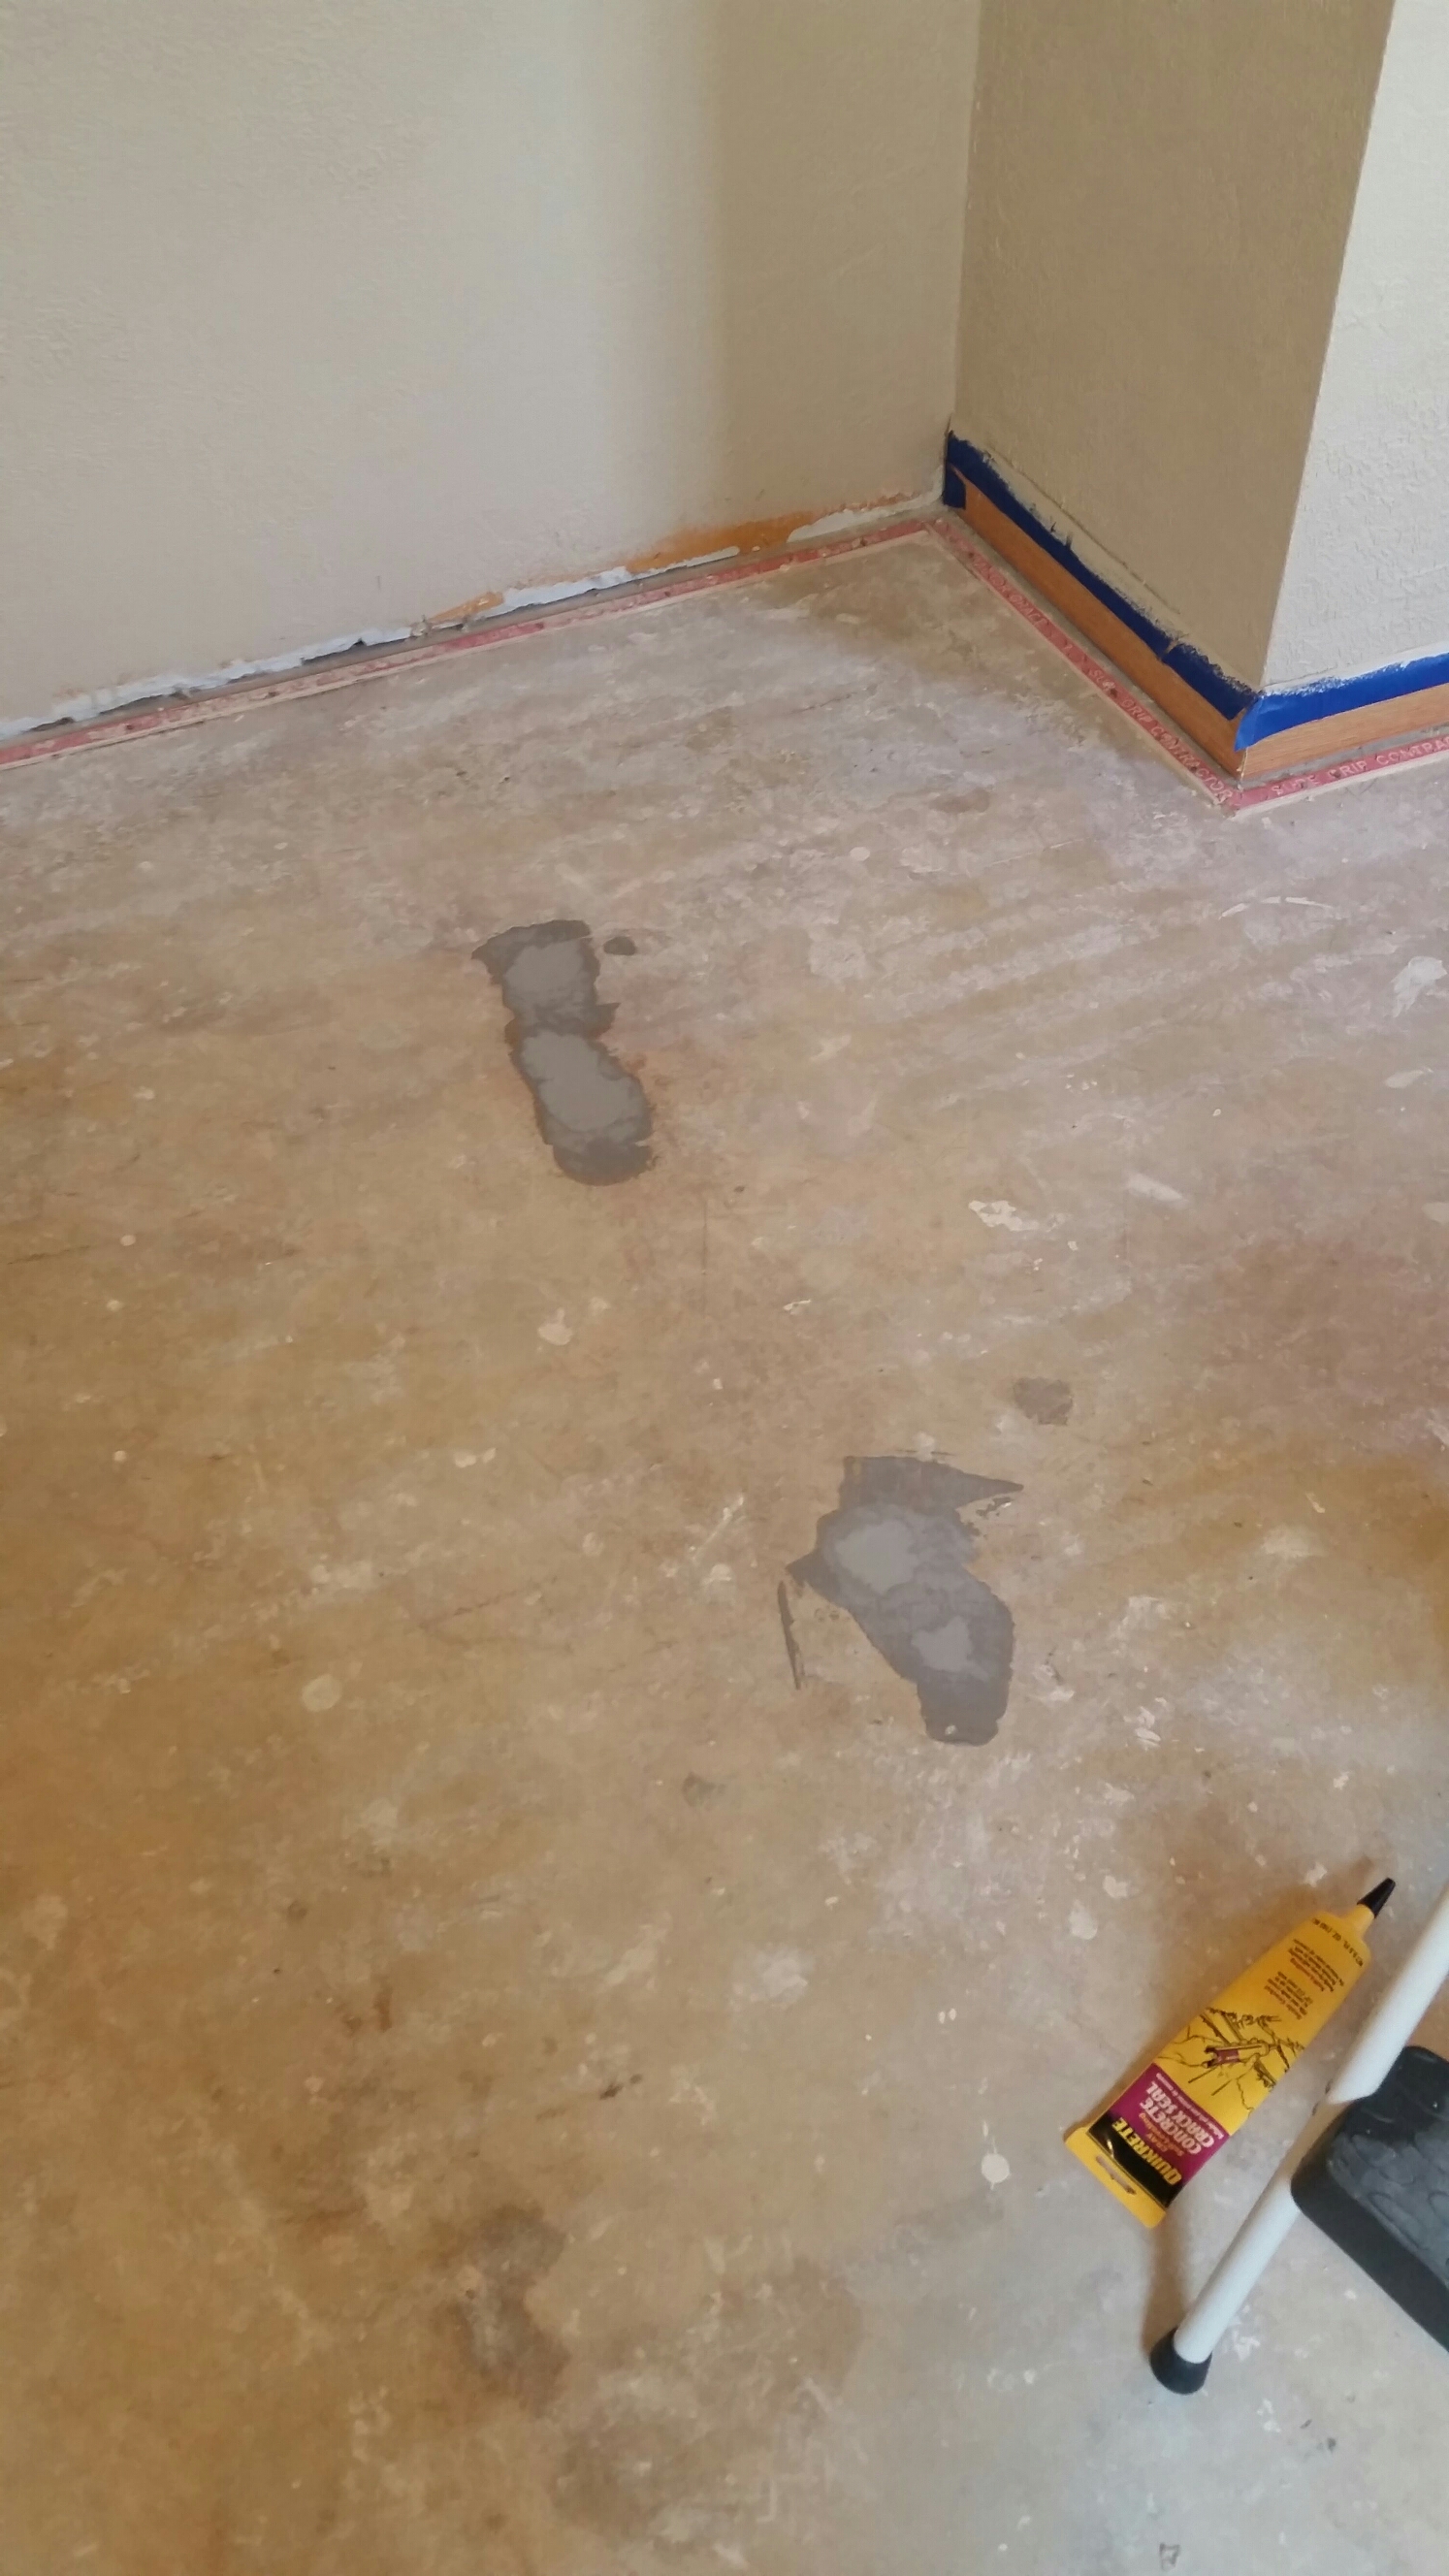
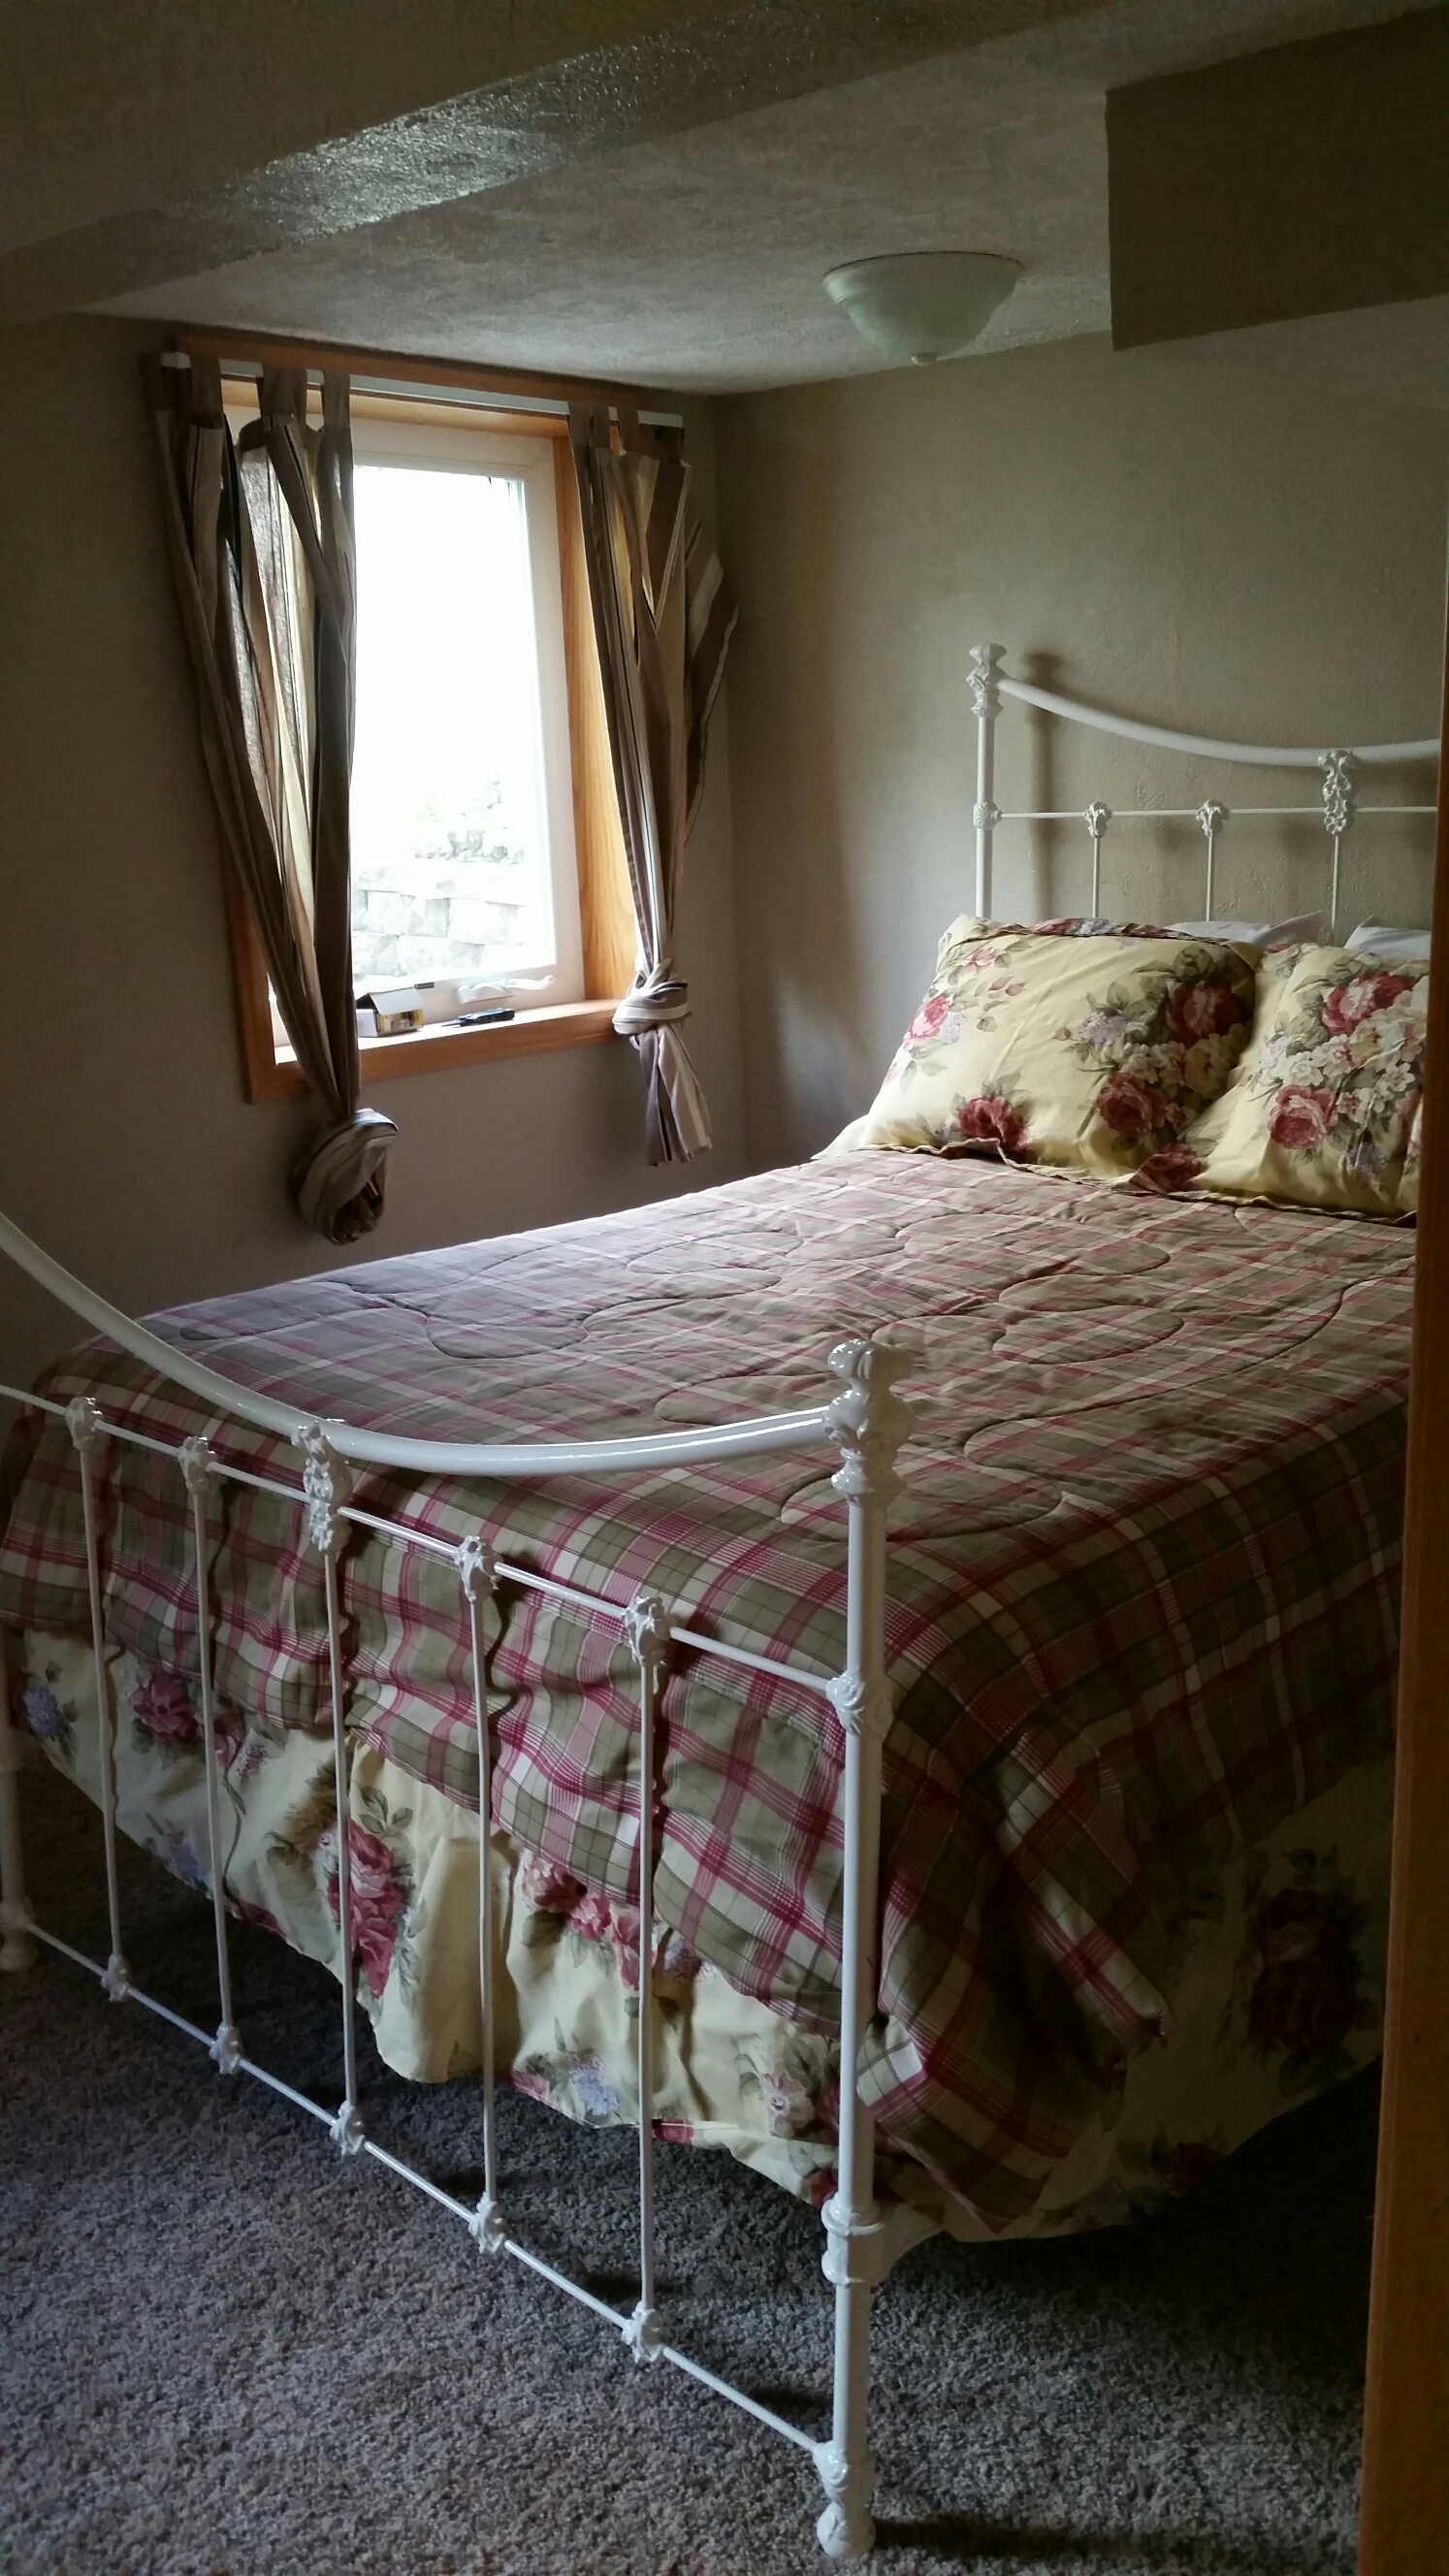
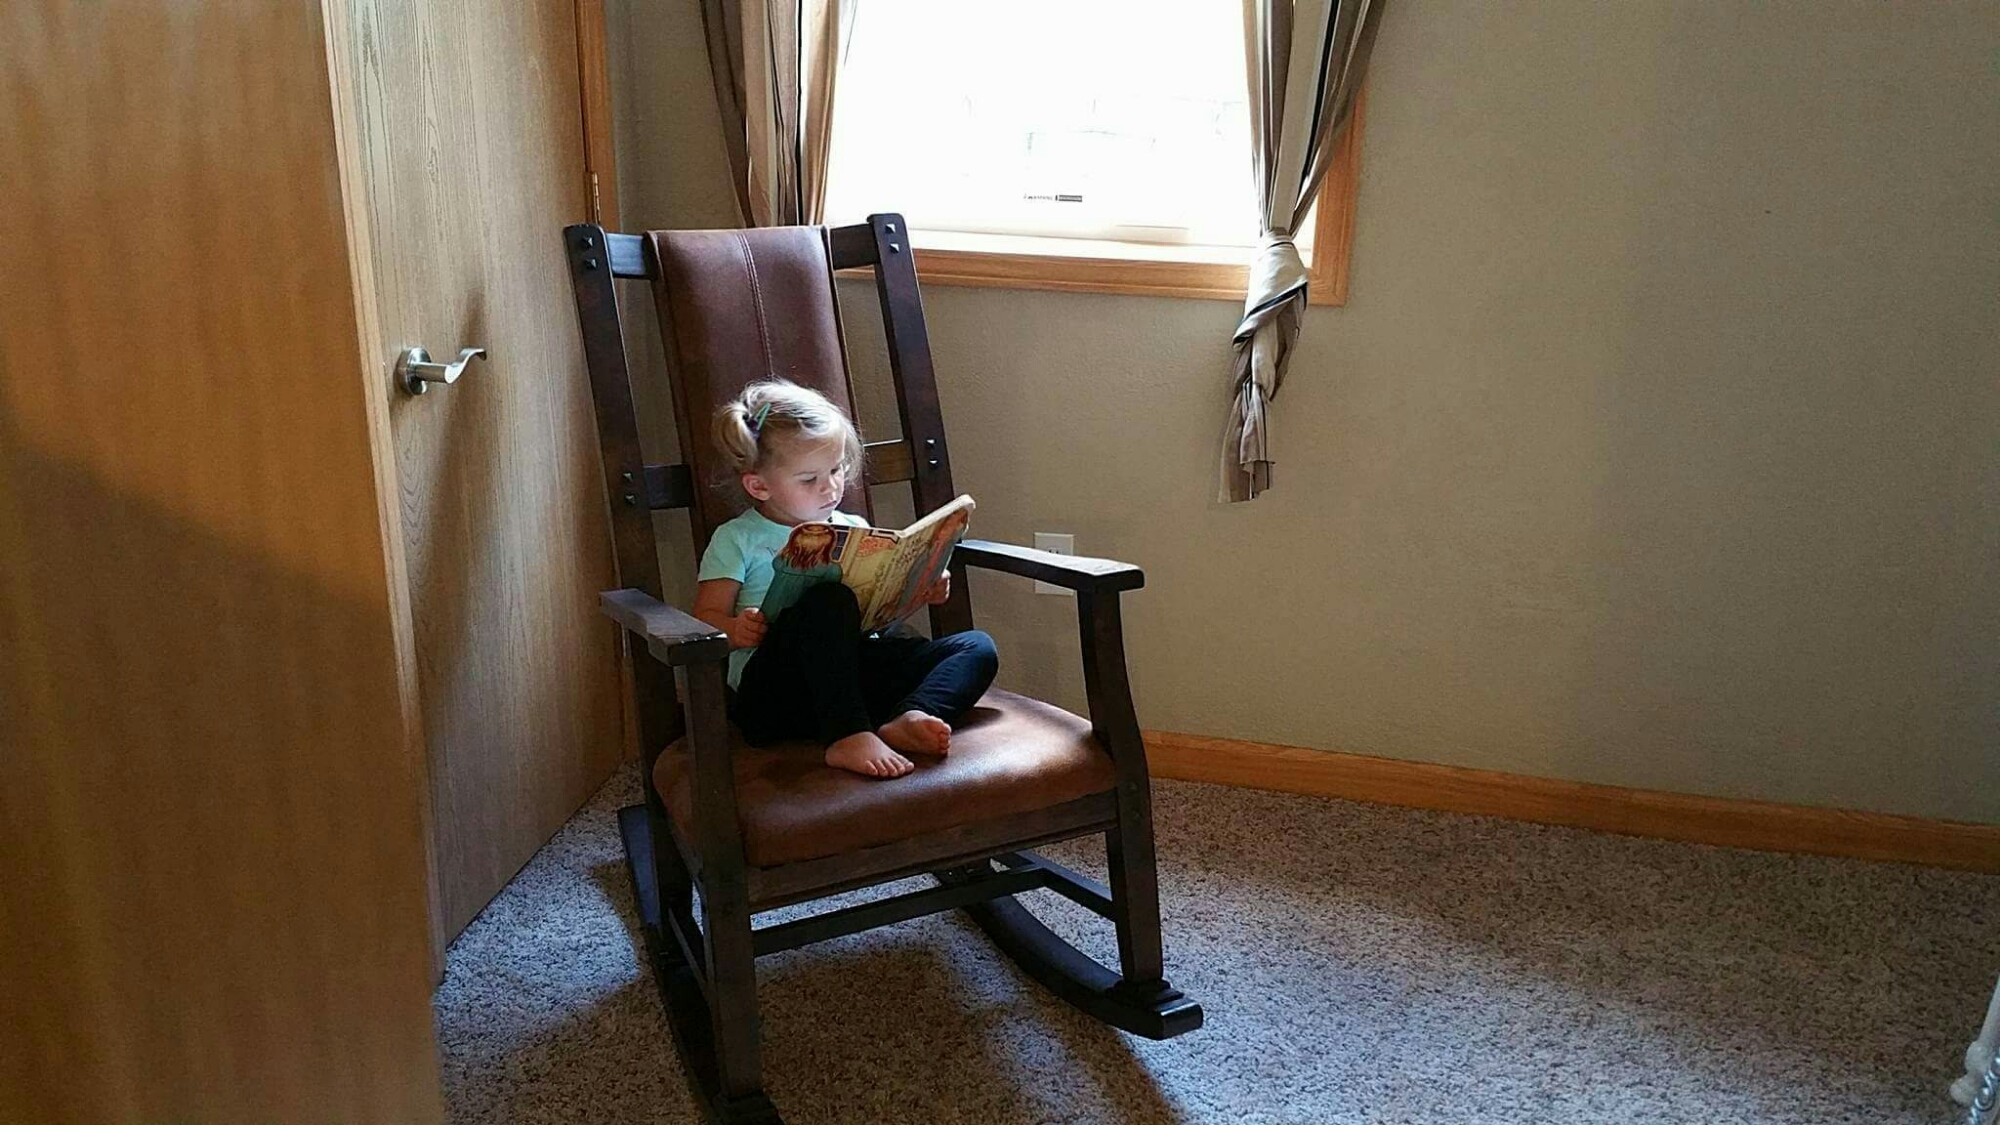
First, before we could put down the csrpet padding we wanted to fill some cracks and divets in the concrete, so we bought some quickcrete and took care of that. Once it dried, we worked diligently getting the carpet padding down, which really wasn’t too hard of a task, and we have quite a bit leftover as well. Then we put the carpet that we were able to save back down. We watched some youtube videos before hand about how to properly install carpeting and doing the seams between rooms and what not. for our first time laying down carpeting I think we did a really nice job, we were able to save all the original tack boards for the carpeting around the edges, so that really helped out as well in this process. Once we had all the carpeting back in we were able to put all the trim and furniture back in. I still have to hang stuff back on the walls, but other than that the room is back to normal… and Novella has a new favorite place to read her books downstairs!


This was not the project we thought we would be doing and spending money on, but it needed to be fixed right, and put back together properly. It will help in re-selling in a couple of years when we transfer to go onto our next adventure!

It all looks really nice Micah!!
LikeLiked by 1 person